


What should be a perfect shirt for a summer day, with pits in the wrong color, must be stored in the wardrobe rather than worn at the function, the white shirt can show yellowing, the dark one might be more yellowish or gray at the pits while the cloth may be hardened because of excess of sweat and deodorant mixture. It will not only get removed while washing so many times and due to the build-up residue of sweat and deodorant over a certain number of washes it will even not wash off on multiple washes..
If you are wondering how to get armpit stains out of shirts, the best approach depends on the fabric, the color of the garment, and how long the stain has been there. Fresh stains often respond to a single treatment, where an older stain will likely need a number of gentle applications. Ingredients readily available around the house like baking soda and white vinegar, and commercial, oxygen-based laundry boosters for various washables are often effective.
Don’t blast the stain with your most caustic cleaner! The idea is simply to dis Lodge as much of the build-up as you can, so that it is accessible, treat fibers as gently as possible, then wash well and not apply heat until you know it is gone. A consistent cleaning routine, along with practical laundry stain removal tips, can rescue a lot of shirts and prevent them from becoming damaged in the first place.
What Causes Armpit Stains on Shirts?
Armpit stains are not caused by sweat alone. Fresh perspiration is often relatively light in color, but the residue left on clothing can change over time.
When learning how to get armpit stains out of shirts, it helps to understand what causes them. Sweat contains water, salts, proteins, and other substances. Deodorants and antiperspirants can deposit their own materials onto the fabric. Over time, these ingredients can combine to form noticeable marks or waxy, rigid spots. Yellowish stains are most conspicuous on white or light-colored shirts, while an equivalent buildup on a dark shirt may appear as a white, grayish or muddled patch.
Antiperspirants with aluminum can account for the accumulation in the underarms (though not that the aluminum necessarily is ruining your clothing.
It’s simply a substance which tends to remain on the fabric through a succession of applications and wearings, therefore, once on the fabric and rubbed in, it can be hard to get rid of with a washing cycle. Multiple heat exposures through many washes and inadequate removal can cause persistent residue to build-up, this is why, once something is already an underarm stain, a normal wash may not be adequate.
Why Regular Washing May Not Remove Them
While a typical wash cycle will get out routine dirt, oil, and sweat, an underarm stain that has become set can be a bit more of an undertaking. As the buildup in the fibers gets older, it might become harder for your detergent and water to reach it and break it apart. Additionally, you may notice the fabric doesn’t feel quite like it should because there is accumulated antiperspirant there.
Dryer heat is a component as well.
If the stain still exists when you put the shirt in to dry multiple times, it can only become harder to remove in the dryer. This is another reason you can tell a shirt has dried. Rather than tossing the shirt into the dryer, visually inspect the underarm stain after your typical cycle to see if you need to take a second try. Some old stains may take more than a single try; gradual results usually mean that at least part of the issue is handled when dealing with major discolorations.
Check the Fabric Before Choosing a Treatment
The same stain-removal method is not appropriate for every shirt.
Start with the care label. It can tell you whether the garment is machine washable, whether it should be washed in cold or warm water, and whether laundry care instructions and bleaching products are permitted.
When learning how to get armpit stains out of shirts, consider the fabric itself. Cotton is generally more forgiving than delicate materials such as silk or some wool garments. Synthetic fabrics may also hold body oils and deodorant residue differently from natural fibers.
Clothing with elasticity requires more gentle treatment. Harsh chemicals, extreme heat, or tumbling at high speeds can alter the elasticity fibers. Color is another important factor.
Treatment that is safe for a light-colored cotton tee can be harmful to dark navy.
Do a spot test in an inconspicuous area. Prior to applying a stain remover to an obvious stain, apply it to a discreet area and look for color changes, loss of texture, or damage.
How to Get Armpit Stains Out of Shirts Step by Step
For many washable shirts, a straightforward pretreatment routine is a good starting point.
Step 1: Read the care label
Confirm that the garment can tolerate the cleaning method you plan to use.
Step 2: Wet the stained area
Use water appropriate for the garment’s care instructions. Saturating the fabric helps prepare the fibers for treatment.
Step 3: Apply liquid laundry detergent
Work a small amount of liquid detergent into the underarm area. Concentrate on the stained section rather than coating the entire garment unnecessarily.
Step 4: Let the detergent work
Give the pretreatment some time to loosen body oils and residue. Follow the detergent manufacturer’s directions rather than assuming that a longer soaking period is always better.
Step 5: Rinse or wash
Wash the shirt according to its care label.
Step 6: Inspect before drying
Check the underarm area while the shirt is still damp. If discoloration remains, repeat the treatment or move to a more targeted method that is suitable for the fabric.
Step 7: Air-dry when practical
Allowing the shirt to air-dry makes it easier to monitor the stain and avoids exposing remaining discoloration to dryer heat.
This basic process is often enough for relatively fresh buildup. Older stains may need a more specialized approach.
Using Baking Soda for Underarm Buildup
Baking soda is a kitchen staple that can be a household solution for laundry treatment. Baking soda can address odors and may aid in loosening residue as a pretreatment.
To make a paste, simply mix with just enough water to form a simple paste. Then, rub it on the stain and smooth it gently onto the fabric.
Do not overscrub – the idea is to get into the fibers of the fabric, not grind the baking soda paste in.
After letting the pretreatment sit on the stain for enough time, rinse and machine wash according to care labels.
When learning how to get armpit stains out of shirts, baking soda is particularly useful as a mild household option, but it should not be treated as a guaranteed solution for every yellow stain. Deep discoloration can involve multiple types of residue, and another stain-removal method may work better.
Avoid using excessive amounts on delicate fabrics, and test first when you are unsure how the material will react.
Using White Vinegar Carefully

Vinegar can be used by some when attempting to help clean residue and odors from clothing. Since the acid is used in a cleaning environment, this is understandable. However; it will not work for all types of stains. Use at your own risk in conjunction with appropriate cleaning techniques for the stain itself.
If attempting to use vinegar on a washable shirt, dilute it accordingly, test in an inconspicuous area and apply it to the specific spot only rather than washing a whole shirt with it and using it as if it can take on all stain. If successful rinse with a hose or in the wash depending on clothing instructions.
A final critical tip is never to mix vinegar and chlorine bleach together because it creates fumes that are extremely dangerous, making household cleaning safety an important consideration. Use cleaning agents and sprays at separate intervals.
Use this suggestion in certain cases but always consider what type of stain, that it won’t damage your fabric.
Oxygen-Based Stain Removers for Washable Shirts
Oxygen stain removers can sometimes be beneficial in certain white, or washable colors, particularly for tough discoloration. Most are intended to deal with organic stains and other detergent buildup without using bleach. That said, they are still not an automatic “safe for everything” option.
Always follow instructions on the product label-paying attention to the directions about concentration, how long the product should remain on the fabric, and the subsequent washing instructions.
Don’t assume leaving it on longer than required will produce superior results. It’s possible to harm the fabric or the dye. Be absolutely certain a colored shirt is not ruined by using a product not recommended for color. Still, always proceed with the spot test in a discreet area when in doubt.
You may be happier ultimately if your pricey shirt sees a professional rather than getting overtreated to the point it can never be worn again.
How to Remove Yellow Armpit Stains From White Shirts
White shirts are some of the easiest garments to inspect, as there is no color dye to maintain like that of a dark shirt. Nevertheless, white material can be harmed by too-rigorous cleaning. Use liquid laundry soap as a pretreatment.
If the yellow remains, a fabric safe oxygen-based product can be used as per label instructions.
Repeat any given suitable treatment rather than mixing multiple cleaning agents immediately when treating tougher spots. Note the feel of the material;if the material underarms has gone stiff and wax-like, the issue could likely be due to extensive deodorant and body oil accumulation as opposed to simple discoloration. Inspect before drying; if yellowing is still present after washing, repeat.
When learning how to get armpit stains out of shirts, avoid assuming that chlorine bleach is the best answer simply because the shirt is white. Chlorine bleach can sometimes interact poorly with organic residues and may produce undesirable discoloration. Follow the garment’s care label and the bleach manufacturer’s instructions if bleach is specifically permitted.
How to Treat Armpit Stains on Dark Shirts
Dark clothing has its own complexities. White or grayish marks will be the result of residual antiperspirant, but the fading left behind from treating those with too much vigor can be just as obvious. Begin with a mild liquid detergentpre-treatment (don’t go for whitening agents, especially on darker items, unless the label explicitly says they are safe for your item).
Work detergent in with your fingertips or a soft cloth, using mild rubbing (overly abrasive rubbing can even dull the texture of some synthetics).
Rinse and then check before drying. Test new treatments on an inconspicuous area of black/navy shirts, especially, as even “fabric safe” products may take to certain dyes/finishes poorly. Expensive/special materials might be best off with a professional cleaner.
Dealing With Stiff or Waxy Underarm Residue
Sometimes the biggest issue isn’t yellowing but the feel of the cloth.
When the underarm part of the garment feels stiff, rubbery or waxy, there’s likely some deodorant or antiperspirant build-up.
Start with a liquid laundry detergent that is safe for the garment. Work into the area with your hands, and let it sit for whatever amount of time the detergent suggests.
For a machine washable garment, a longer pre-treatment or soak might help, if the item’s care label says that the item can be soaked.
After laundering, the textile should feel softer than it did. Don’t resort to harsher chemicals immediately if it is still stiff. Re-do the wash according to the instructions previously given.
The buildup might not come out in one cycle if the shirts has already been worn and washed numerous times and wasn’t pre-treated:
Common Mistakes to Avoid
A few habits can make underarm stains harder to remove.
Drying the shirt before checking it
The dryer should not be the automatic next step when a stain remains visible. Inspect the garment first and treat persistent marks before applying more heat.
Scrubbing too hard
Aggressive friction can damage fibers and may spread residue beyond the original stained area.
Using chlorine bleach without checking the fabric
Bleach is not suitable for every garment and can create unwanted discoloration. Follow the care label and product instructions.
Mixing cleaning products
Combining household cleaners can be dangerous. In particular, never mix chlorine bleach with vinegar or other acidic products.
Leaving treatments on indefinitely
Longer treatment is not always more effective. Some products have specific contact times for a reason.
Ignoring the deodorant buildup
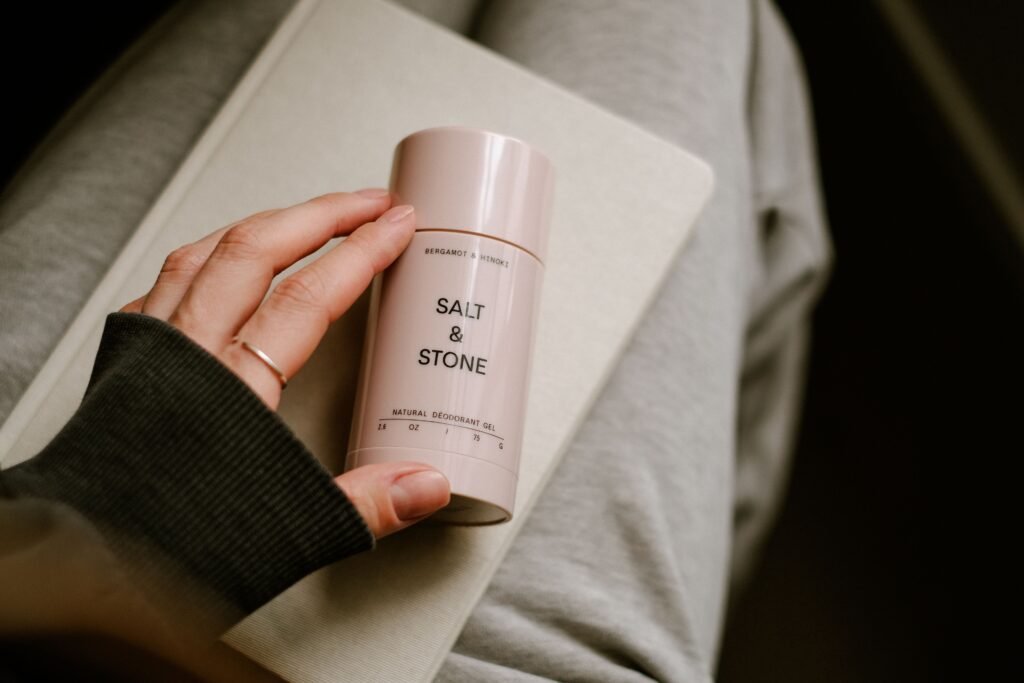
If you focus only on the yellow color but not the underlying residue, the problem may return. Treating both the visible discoloration and the accumulated product residue is more useful.
Special Cases That Need Extra Care
Not all shirts should be treated like regular, casual cotton shirts.
Silk, wool, rayon, any shirt that is elaborately embroidered, or constructed of a specialty fabric might do better being dry-cleaned or very carefully, gently washed. When something states it must be dry-cleaned, assume household stain treatments may make the problem much worse, unless you are directed to try a household cleaner in the care label.
Vintage shirts might react like other garments are programmed not to. Dyes and fibers used long ago behave a bit differently than current ones.
For shirts that have stitching, prints, a glues decoration, or some kind of coating on it, exercise extreme caution. A water-based stain treatment will spread along the stitching or spread through a coating and soak areas you didn’t mean to reach.
If ever in doubt, professional cleaning is almost always a safe option. The cost of a cleaning is generally preferable to the loss of an expensive, perhaps difficult-to-replace shirt.
How to Prevent Future Armpit Stains
Prevention is easier once you understand what causes the buildup.
Enable the deodorant/antiperspirant to completely dry before you begin to dress yourself. This will cause there to be less wet product transferred directly onto the material. Wash shirts on a more regular basis instead of wear your shirt multiple times after sweating/applying product on it.
If you see a underarm area beginning to become stained pretreat it with an underarm pretreat product before the mark sets into the material.
It can be helpful to also refrain from using a great amount of deodorant. If too much product is used then there will also be more product set into the clothing itself. Rotate a shirt if you see that the same piece of clothing is continuously getting a buildup on it.
When Should You Replace the Shirt?
The reality is: not every stained garment needs disposal. Sometimes it’s possible that a subtle discoloration is barely noticeable on the garment to begin with, and it may be suitable to keep as is. It becomes time to purchase a new item if the material itself has started to wear out, or if the underarm has been ruined irreversibly, or if the repeated washings has thinned and/or discolored the fabric to a greater degree.
If theshirt isn’t all that expensive and the discoloration now dominates the shirt over its value, then the decision to toss and buy a replacement makes sense.
The situation is different if it’s an expensive shirt or a favorite. In this case, consider a professional cleaning of the shirt before declaring it a lost cause. Professionals can sometimes tell you what you have, and treat your shirt without further damaging it.
Frequently Asked Questions
1.What is the easiest way to remove armpit stains from shirts?
Start with liquid laundry detergent as a pretreatment, gently work it into the affected area, and wash according to the care label. For persistent stains, a fabric-appropriate oxygen-based product may help.
2.Why do white shirts turn yellow under the arms?
Yellowing can develop from a combination of perspiration, body oils, deodorant or antiperspirant residue, and repeated washing. The discoloration may become more noticeable as buildup accumulates in the fibers.
3.Can baking soda remove yellow armpit stains?
Baking soda can be useful as part of a stain-treatment routine and may help with odors and residue. It is not guaranteed to remove every set-in stain, so fabric testing and repeated gentle treatment may be necessary.
4.Does vinegar remove underarm stains?
Vinegar may help with some laundry residue and odors, but it is not a universal solution for yellow stains. Use it cautiously, follow fabric-care instructions, and never mix it with chlorine bleach.
5.Can old armpit stains be removed?
Older stains can often be improved, but results depend on the fabric, type of residue, and how long the discoloration has been present. Several gentle treatments may work better than one aggressive application.
6.Should I use bleach on yellow armpit stains?
Do not automatically use chlorine bleach. It can damage some fabrics or cause undesirable discoloration. Check the garment label and product directions first; an oxygen-based product may be more appropriate for some washable fabrics.
7.Why do armpit stains keep coming back?
Recurring marks may result from continued buildup of sweat, body oils, deodorant, or antiperspirant. Pretreating the underarm area and washing shirts before residue accumulates can help reduce recurrence.
Final Takeaway
Learning how to get armpit stains out of shirts starts with understanding that the discoloration is often a combination of sweat, body oils, and deodorant or antiperspirant residue. It’s a lot easier to remove new accumulation of underarm stain than the old ones, you may require repeat treatment for the later on with fabrics friendly products.
Liquid laundry detergent that suitable for your fabric can be your first option, Baking soda or oxygen stain removers are also an option, depending on the stain and the fabric of the shirt, read your garment instruction and take test if the product you used is a new one, on a small area and only apply to the affected area. Avoid using to much power to rub, never mix cleaning products together, and crucially check the shirt before put it in dryer. Many stains can be minimized or vanished by taking action immediately with pre treatment before and washing with the appropriate method.
CONCLUSION
When attempting to treat underarm stains, the key is to address them before they have become too deeply engrained into the cloth. With moderate pretreatment and proper washing procedures this can often be effective with many everyday stains, for persistent stains this may also be possible to address with a baking soda rinse or an oxygen-based stain remover where appropriate and possible. Always follow the manufacturer care instructions as well as testing new products on discreet areas of the garment.
Do not be too vigorous or use too many chemicals and ensure no stains are still apparent before the garment is dried.
Many shirts can remain looking clean much longer if stains are attended to promptly.