

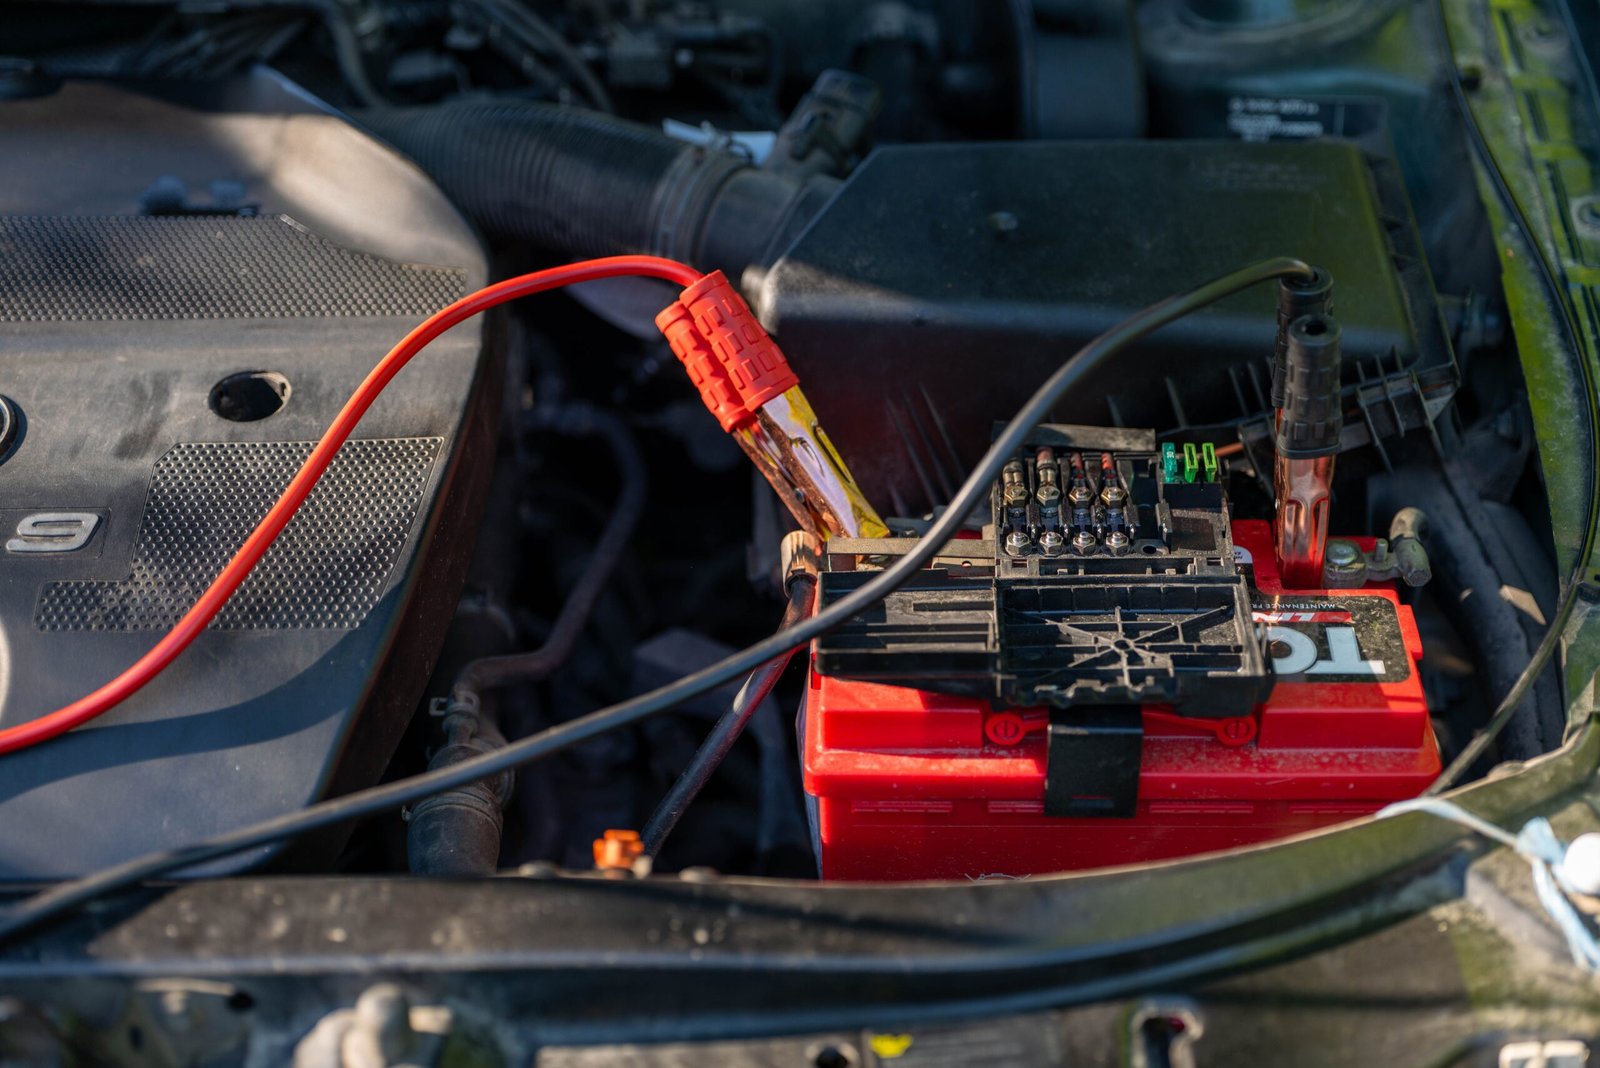
Few experiences in vehicle ownership are as frustrating as turning the ignition key only to hear a hollow clicking sound, signaling a dead electrical system. Most drivers take their starting system for granted until a cold morning or an unexpected delay leaves them stranded without power. Learning how to check car battery life before severe symptoms manifest provides peace of mind and saves you from the emergency expense of tow trucks or roadside assistance calls. Modern vehicles rely heavily on complex electronic control units, sensors, infotainment suites, and safety systems, placing a far greater burden on the electrochemical storage unit than older automobiles ever did.
Understanding the health of your power cell involves more than simply counting the months since you purchased it. Chemical degradation occurs continuously inside flooded lead-acid, enhanced flooded, and absorbed glass mat batteries due to heat exposure, vibrational stress, depth of discharge, and alternator charging profiles. When drivers ask how to check car battery life accurately, they must look beyond surface appearance and learn to evaluate state of charge, internal resistance, cold cranking amperage, and reserve capacity. A unit might show sufficient voltage on a superficial meter test yet fail completely when asked to turn over a cold engine on a freezing afternoon.
The key to effective battery management lies in a well-structured diagnostic plan that blends physical testing, simple static tests and active load testing. The complete consultative guide that follows details each step in understandable prose, in well-defined paragraphs-nothing else but-by physical indications; troubleshooting with your multimeter; what happens when you apply load; the sneaky battery drainers; and the influence of climate and season on battery care and selection.
The Chemical Mechanics of Battery Degradation and Storage Loss
To master how to check car battery life, one must first understand the fundamental electrochemical process occurring inside lead-acid automotive cells. A standard twelve-volt automotive battery contains six individual cells connected in series, each producing approximately two point one volts when fully charged. Inside each cell, lead dioxide positive plates and sponge lead negative plates are submerged in an electrolyte solution of sulfuric acid and water.
As the battery discharges to power starting motors and cabin accessories, the active materials on both sets of plates react with the sulfuric acid, converting into lead sulfate while diluting the electrolyte solution into mostly water. When the engine runs, the alternator forces current backward through the battery, reversing this chemical reaction and restoring the lead sulfate back into lead dioxide, sponge lead, and concentrated sulfuric acid.
Over time, this chemical cycle naturally breaks down. Repeated shallow discharges, sustained thermal stress from engine heat, and undercharging cause hard lead sulfate crystals to permanently solidify on the plates, a process known as sulfation. Sulfation reduces the active surface area available for chemical reactions, permanently lowering internal capacity. When you evaluate how to check car battery life, you are essentially measuring how much active surface area remains functional and how efficiently the internal grid structure can conduct heavy current under load.
Early Warning Signs of Impending Electrical Failure
Recognizing subtle performance shifts in your vehicle provides an invaluable opportunity to investigate how to check car battery life before complete starting failure occurs. Vehicles rarely experience total power failure without dropping minor warning signs beforehand, though untrained drivers often overlook these indicators.
The most prominent indicator is a slow or labored engine crank when starting the vehicle. If the starter motor spins noticeably slower than usual or struggles during cold morning starts, the battery is failing to deliver required cold cranking amps. Another subtle indicator is dimming headlights or flickering interior cabin lights while the engine idles, which brighten as soon as you press the accelerator and increase engine revolutions per minute, signaling that the battery is no longer smoothing out electrical loads effectively.
Modern onboard computer systems also generate distinct error codes or electronic glitches when system voltage drops during cranking. You might notice intermittent power steering warnings, traction control alerts, or erratic radio screen reboots during ignition. If your vehicle displays any of these symptoms, taking immediate steps to discover how to check car battery life using proper testing equipment will confirm whether the battery itself is failing or if the issue stems from charging system components.
Conducting a Visual Inspection and Physical Health Assessment
Before picking up electrical testing instruments to learn how to check car battery life, begin with a thorough physical and visual examination of the battery casing and terminal connections. Physical defects often explain performance issues and can render electrical testing unsafe if structural damage is present.
Remove the battery cover and slide out the battery tray. Make sure the engine is off and the key is not in the vehicle. Look at the plastic casing for swelling, bulging, or cracks in the battery, which is a result of external or internal conditions such as excess heat causing internal plates to expand or freezing of the liquid electrolyte of a discharged battery.
A swollen battery case is permanently damaged internally and should be replaced immediately due to acid leakage or the high possibility of an internal short circuit.
Check the top posts and clamps for extensive corrosion such as a white powdery, bluish-green material that has formed on the lead terminals. This creates a poor connection and high resistance which prevents the alternator from fully charging the battery and limiting amperage from reaching the starter motor. If there is corrosion present, clean the terminals with a cable terminal brush and a solution of warm water and 1 ounce of baking soda per pint of water to neutralize and remove the deposits before any electrical testing is conducted, as this surface corrosion will create inaccurate measurements.
Measuring Open-Circuit Voltage with a Digital Multimeter
Using a digital multimeter represents the most accessible method for anyone wanting to know how to check car battery life at home, while understanding car battery voltage testing can help you interpret the reading more accurately. A multimeter measures open-circuit voltage, which reflects the battery’s state of charge when no electrical accessories are drawing power from the unit.
For an accurate OCV measurement, let the battery sit for a minimum of 12 hours after the motor is turned off, or you’ll need to get rid of the surface charge caused by recent charging from the alternator. To do this, switch on your high-beams for about 30 seconds, shut the car off and the lights and wait two minutes before test. Dial in a direct current voltage setting on your DMM set it to the 20-V scale.
Now, touch the positive red probe to the positive battery post, and the negative black probe to the negative battery post.
A perfect, fully charged 12V should be between 12.6V and 12.8V in a room-temperature environment. At 12.4V, the battery state of charge is at about 75%, at 12.2V it’s at 50%. Readings at 12.0V and below, indicate that the battery is effectively dead and a reading of anything below 11.9V is almost always a shorted internal cell that will never hold charge
Interpreting Voltage Readings and Temperature Impact Variations
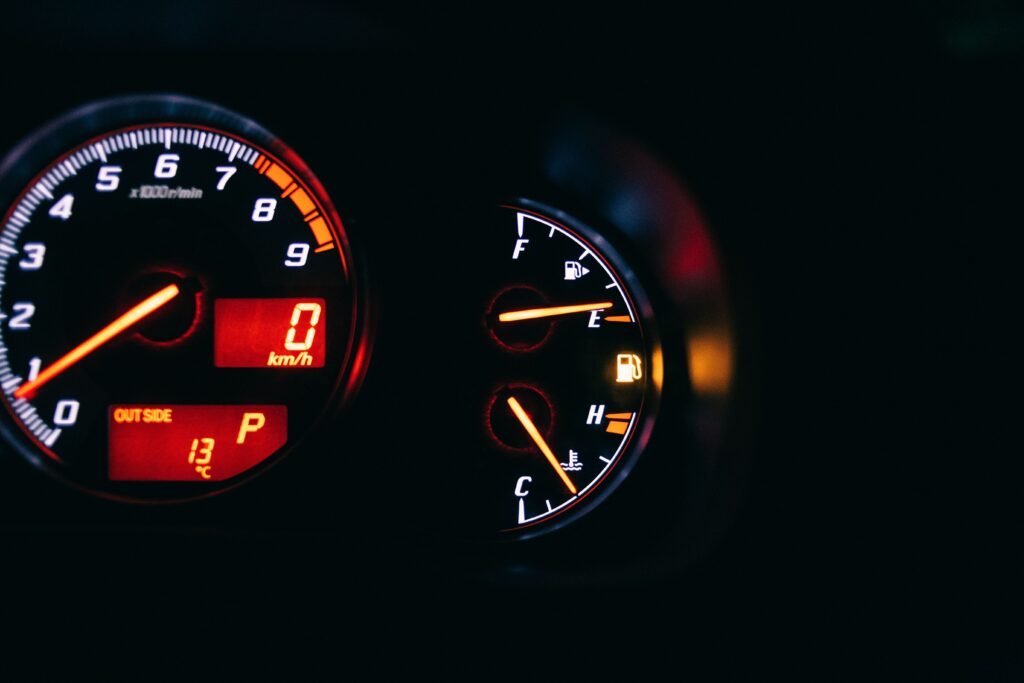
When applying multimeter measurements to evaluate how to check car battery life, you must factor ambient temperature into your calculations. Chemical reactions slow down drastically in freezing conditions, while extreme heat accelerates internal self-discharge rates.
Cold weather reduces accessible cranking capacity while simultaneously increasing the physical force required to turn over cold engine oil. A battery reading twelve point four volts on a warm summer morning may perform adequately, but that same unit operating at sub-zero temperatures will suffer a dramatic drop in usable output, potentially leaving the vehicle unable to start. This temperature-dependent behavior explains why battery failures cluster heavily around the first severe cold snap of winter.
Conversely, high summer temperatures accelerate internal grid corrosion and electrolyte evaporation in flooded battery designs. If you test a battery during high summer heat and observe rapid open-circuit voltage drop over twenty-four hours while disconnected from the vehicle, high internal self-discharge is taking place. Understanding these thermal variations ensures that when learning how to check car battery life, you do not misinterpret temporary cold-weather voltage drops as complete battery failure or ignore high-temperature self-discharge signals.
Executing a Real-World Cranking Voltage Load Test
While static voltage tests provide helpful state-of-charge data, understanding how to check car battery life under heavy electrical load is the ultimate test of internal health.A battery can maintain surface voltage while standing idle yet collapse under the heavy amperage demand of the starter motor, which is why battery load testing provides useful information about its ability to handle starting demands.
You can conduct a simple cranking voltage load test with your digital multimeter using your assistant. Connect your multimeter probe tips as you did during static testing, positioning it so your assistant can view the screen from the drivers seat of the vehicle. Have him turn the key and hold it, cranking the engine for 3 to 5 seconds, and keep an eye on the lowest reading your meter registers.
A healthy system (at room temp) will maintain9.6 volts or higher during the entire start-up sequence.
If it drops below9.6 volts during cranking while the motor is firing up, then the internal condition of the battery cannot withstand the high current demands and has had substantial capacity loss. If it drops to 8 volts or lower when the key is turned on; then consider changing the part out immediately before your vehicle stalls completely.
Utilizing Conductance Testers for In-Depth Health Analysis
For automotive professionals and serious home mechanics seeking the most precise method regarding how to check car battery life, modern digital conductance testers offer significant advantages over traditional carbon-pile load testers. Conductance testers pass a low-frequency electrical signal through the battery to measure internal resistance and grid integrity without draining power or generating hazardous heat.
A digital conductance tester calculates state of health by comparing the battery’s measured cold cranking amps against its original factory rating stamped on the top label. After entering the battery type, such as standard flooded, AGM, or gel, along with the rated cold cranking amperage into the device, the tester clips onto the terminals and delivers an immediate digital report within seconds.
The output provides clear diagnostic metrics, including actual measured cold cranking amps, percentage state of health, percentage state of charge, and internal resistance measured in milliohm units. As a battery ages and sulfation accumulates, its internal resistance rises while usable cold cranking amps decline. A conductance tester reading that shows cold cranking capacity has dropped below seventy percent of its original factory rating signals that the unit is approaching the end of its reliable service life, regardless of its static voltage reading.
Diagnosing Alternator Health and Parasitic Electrical Draw
A crucial aspect of mastering how to check car battery life involves verifying that peripheral vehicle systems are not damaging an otherwise healthy battery, making car maintenance and troubleshooting tips useful for identifying related electrical and mechanical problems.
A perfectly good battery will repeatedly die if an undercharging alternator fails to replenish stored energy or if a parasitic drain depletes charge overnight.
Before any repairs or additional batteries can be installed, a battery health test needs to be completed with your multimeter after the car has warmed up (once the alternator is not cold). Voltage taken from the battery should be between 13.8 and 14.7 volts while at idle, if all accessories (like A/C) are off. If charging voltage remains under 13.5 volts, it means the charging system cannot keep up.
If the charging voltage is above 15 volts, it will cook and permanently damage your battery by boiling out water, which allows sulfation to happen more quickly as well.
A parasitic drain check will look for faults that have turned off accessories but continue to have electricity coursing through them. Turn the ignition off, close the doors of the car, and plug your multimeter intoDC amperage mode. Remove the negative battery terminal, hook it between the battery, and the cable end-up. Wait until after fifteen minutes to check as modules will be slowly shutting down.
Expected voltage should be at or below 50 milliamperes.
A voltage reading above 75 milliamps will burn through a battery with excessive draw with a faulty control unit, stuck relay, or aftermarket accessory consuming power slowly over time.
Critical Safety Precautions During Automotive Electrical Diagnostics
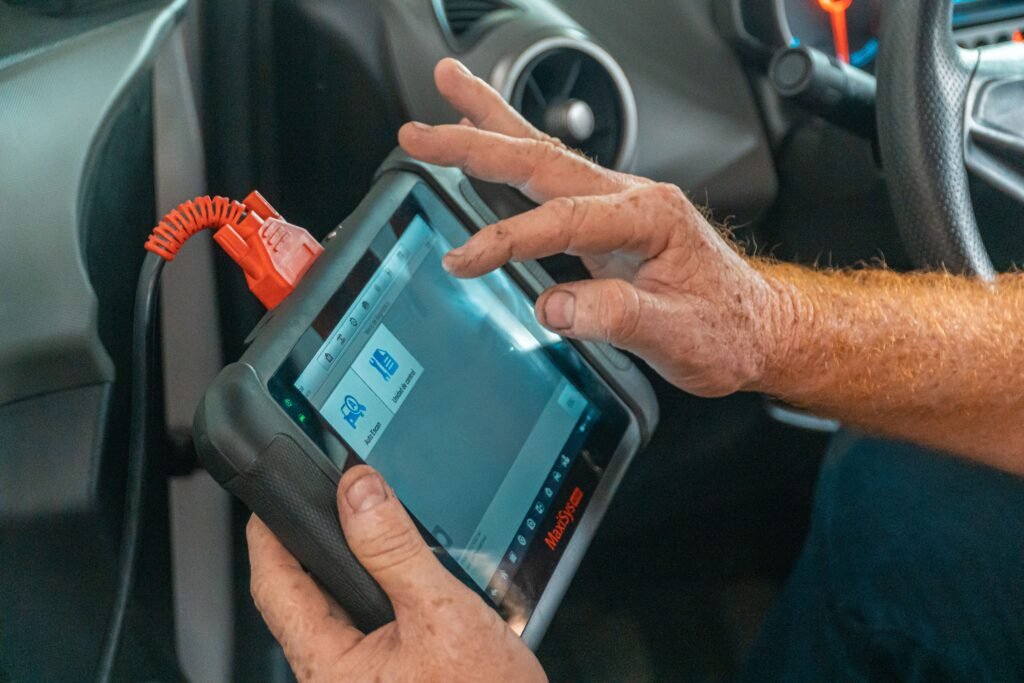
Any discussion on how to check car battery life must emphasize strict personal safety protocols. Lead-acid batteries contain highly corrosive sulfuric acid and produce explosive hydrogen gas during charging cycles, making improper handling dangerous.
Always wear splash-proof safety goggles and thick nitrile or heavy rubber gloves when working near automotive electrical components. Never produce open flames, smoke, or create sparks near the battery top, as a single spark can ignite trapped hydrogen gas inside the casing, causing a catastrophic explosive rupture that sprays acid and plastic fragments.
When connecting testing tools, jump leads, or chargers, always connect the positive red clamp first, followed by the negative black clamp. When disconnecting equipment, reverse the order by removing the negative black clamp first. This sequence prevents accidental short circuits between your wrench or metal tool and the grounded metal chassis of the vehicle, reducing the risk of intense electrical arcs, melted metal, or electrical burns.
Common Diagnostic Mistakes That Lead to Misdiagnosis
Homeowners and novice mechanics learning how to check car battery life frequently fall into diagnostic traps that lead to premature replacement of good batteries or sudden breakdowns from ignored defects. Avoiding these common mistakes ensures accurate evaluations and saves money.
One frequent mistake is testing a battery immediately after driving the vehicle without clearing the surface charge. Alternators temporarily raise surface voltage across the plates, causing a partially discharged or degraded battery to register a false, high voltage reading of twelve point eight volts. Testing under these conditions leads to incorrect assumptions that the power cell is fully healthy, only for the vehicle to fail to start the following morning after the surface charge naturally dissipates.
Another common error is replacing a discharged battery without identifying why it lost charge in the first place. If a vehicle owner replaces a dead battery without checking for a failing alternator or a parasitic glovebox light draw, the brand-new battery will discharge completely within days. Always evaluate the entire starting and charging loop—including cable integrity, ground connections, alternator output, and parasitic loads—rather than isolating the battery as an independent component.